How to Fix Root Rot in Indoor Plants: A Complete Guide
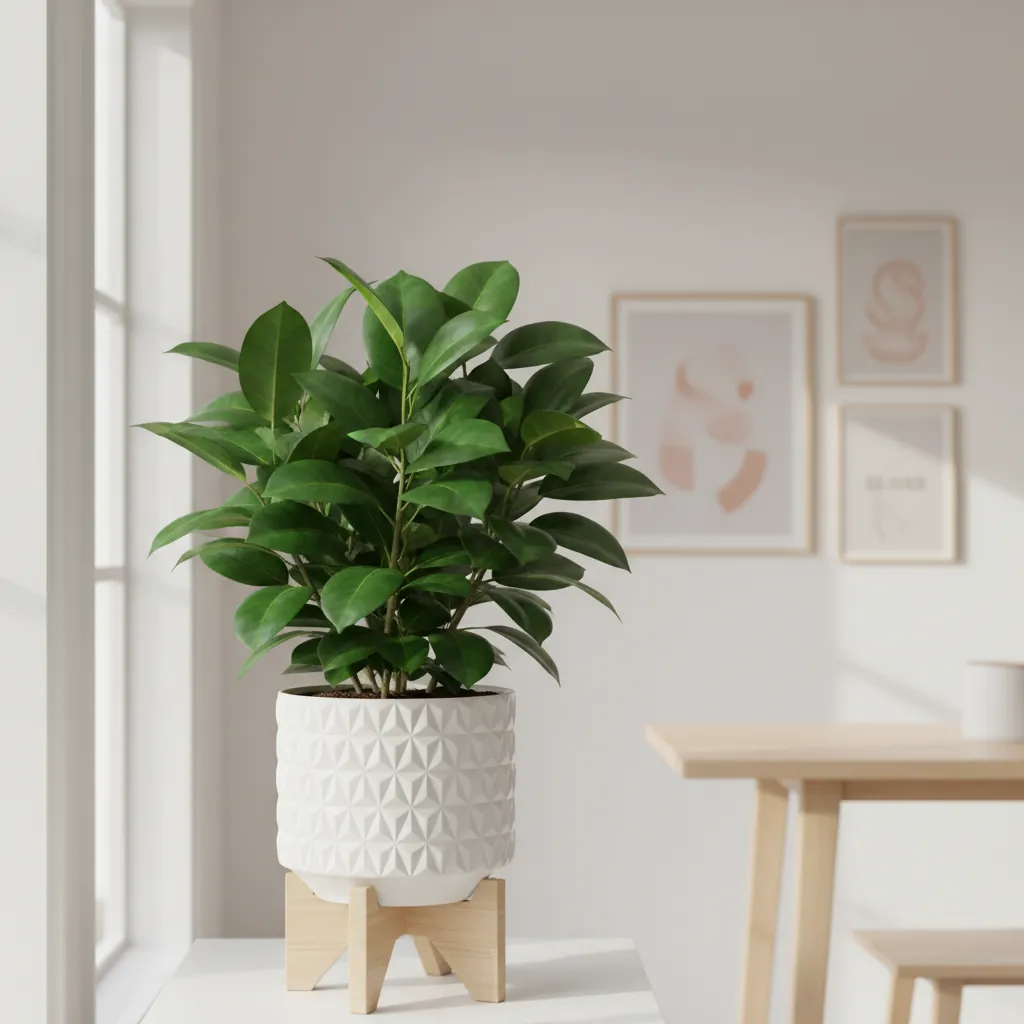
How to Fix Root Rot in Indoor Plants: A Complete Guide
Contents
- Quick Care Summary
- What Causes Root Rot in Indoor Plants?
- How to Identify Root Rot?
- How to Fix Root Rot: Step-by-Step
- How to Prevent Root Rot
Root rot is a common issue for indoor plants caused by fungal pathogens thriving in waterlogged soil. To fix it, remove the plant from its pot, trim away mushy or blackened roots, rinse the healthy roots, and repot in fresh, well-draining soil. Prevent future rot by avoiding overwatering and ensuring proper drainage. Act quickly, as early intervention increases the chances of saving your plant.
Indoor plants are cherished for their ability to brighten spaces and improve air quality, but root rot can threaten their health. This guide explains how to identify, treat, and prevent this issue.
Quick Care Summary
- Light: Bright, indirect light
- Water: Allow the top 1-2 inches of soil to dry before watering
- Humidity: Moderate (40-60%)
- Temperature: 65-75°F (18-24°C)
- Soil: Well-draining mix with perlite or orchid bark
- Toxicity: Varies by plant (check specific species for pet safety)
What Causes Root Rot in Indoor Plants?
Root rot occurs when soil remains waterlogged, depriving roots of oxygen and creating an environment for fungal pathogens like Pythium and Phytophthora to thrive. Common causes include:
- Overwatering: Excess moisture suffocates roots.
- Poor Drainage: Pots without drainage holes trap water.
- Contaminated Soil or Tools: Fungal spores can spread through reused soil or unsterilized equipment.
How to Identify Root Rot?
Look for these signs:
- Yellowing Leaves: Especially lower leaves.
- Wilting: Despite moist soil.
- Mushy Roots: Healthy roots are firm and white; rotten roots are brown/black and soft.
- Foul Smell: Decaying roots emit a musty odor.
- Stunted Growth: The plant stops thriving.
How to Fix Root Rot: Step-by-Step
Step 1: Remove the Plant from Its Pot
Gently lift the plant and shake off excess soil to expose the root system.
Step 2: Inspect and Trim the Roots
Cut away all soft, brown, or black roots using sterilized scissors. Healthy roots are firm and white.
Step 3: Rinse the Roots
Wash the remaining roots under lukewarm water to remove soil and fungal spores.
Step 4: Let the Roots Dry
Place the plant on a clean towel and let the roots air dry for a few hours.
Step 5: Repot in Fresh Soil
Choose a clean pot with drainage holes and fill it with fresh, well-draining soil.
Step 6: Water Sparingly
Wait a few days before watering, and only water when the top 1-2 inches of soil are dry.
How to Prevent Root Rot
- Water Correctly: Check soil moisture before watering.
- Use Well-Draining Soil: Add perlite or pumice to improve drainage.
- Ensure Proper Drainage: Always use pots with drainage holes.
- Sterilize Tools: Clean pots and tools to prevent contamination.
- Avoid Overcrowding: Ensure adequate airflow around plants.
FAQ
Can a plant recover from root rot?
Yes, if caught early and treated promptly by trimming rotten roots and repotting in fresh soil.
How do I know if my plant has root rot?
Look for yellowing leaves, wilting, mushy roots, and a foul smell from the soil.
Can overwatering cause root rot?
Yes, overwatering creates waterlogged conditions that encourage fungal growth.
Can I reuse soil after root rot?
No, discard old soil to avoid reintroducing pathogens.
Are there plants more prone to root rot?
Yes, succulents, cacti, and moisture-sensitive plants like peace lilies are more vulnerable.
Related guides
- Snake Plant (Sansevieria): The Ultimate Beginner’s Houseplant
- The Best Low-Light Indoor Plant: Snake Plant
- Best Plants for the Bedroom
- How Often to Fertilize Houseplants
- How to Get Rid of Fungus Gnats on Indoor Plants